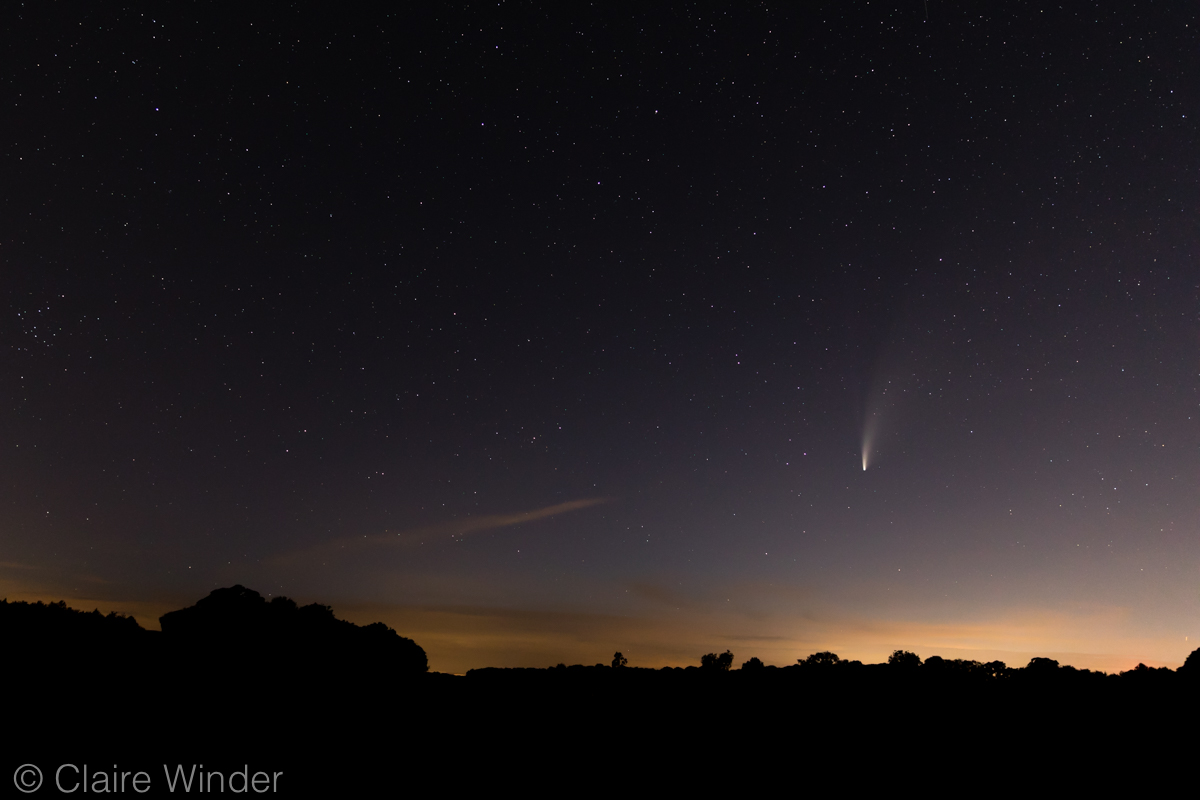
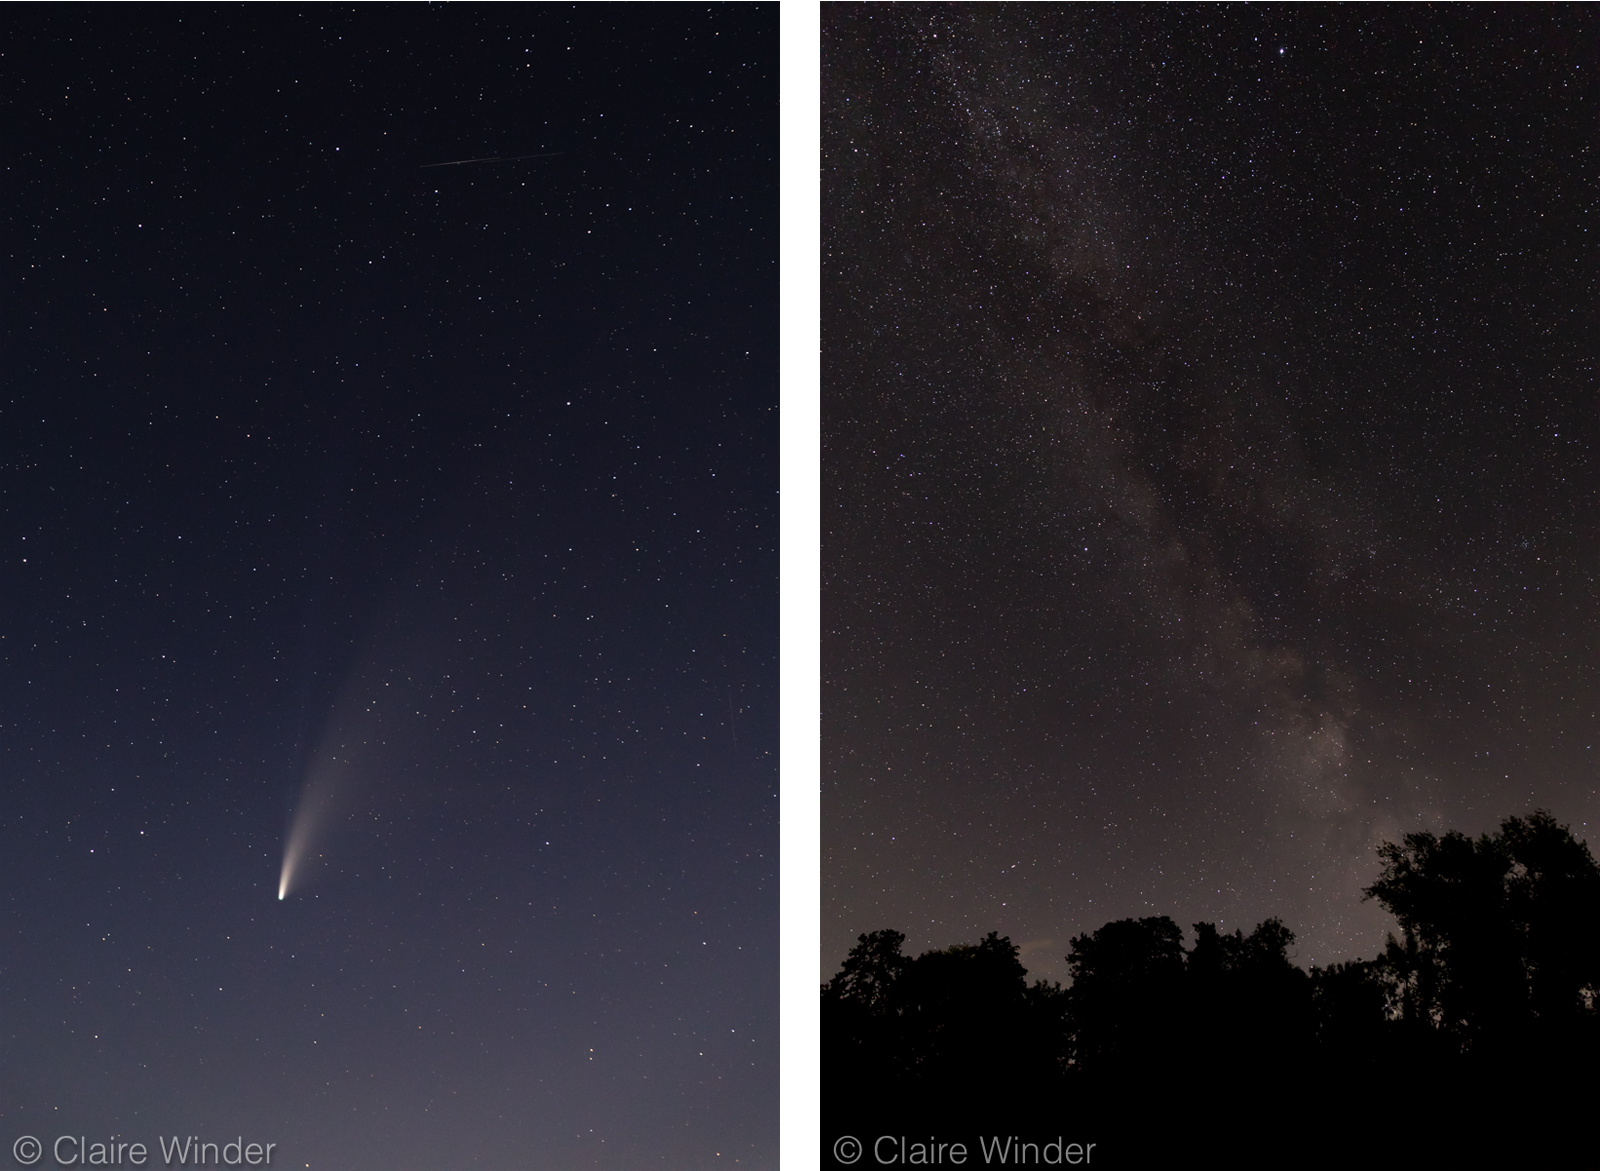
It’s been far too long since I’ve last written a blog post about my photography, life has a habit of getting in the way sometimes! But I managed to get a clear night, so decided to head out into the darkness to try and photograph NEOWISE. In this post I’ll discuss my set up, how I shot the images, and processed them afterwards.
I’ve dabbled in a bit of astrophotography, mainly just landscapes with the Milky Way if I’ve been away in dark sky areas. When I had a clear night I jumped at the chance to get out and try and photograph Comet NEOWISE. I unfortunately live in a fairly densely populated part of the country, although I’m not too close to any major cities, so I wasn’t too sure what the light pollution would be like. I had a few places in mind to set up my camera just North of the town where I live, which I hoped would be dark enough to get some half-decent shots at least.
The sun sets just after 9pm at this time of year, but it’s a few hours later that it’s dark enough to clearly see the comet. So at about 11pm, I drove out to some country lanes and found a lay-by with a nice view northwards. It wasn’t until closer to midnight that it really started to get dark. I was treated to stunning views of the comet just above the horizon, and could clearly see the Milky Way behind me. Overall, I was pretty pleased with the photos I took, the light pollution was nowhere near as bad as I was expecting and there were next to no clouds in the sky - I couldn’t have asked for more!

Equipment
A tripod is a must for astrophotography as you’ll need to open the shutter for several seconds. I also used a remote trigger to avoid any camera shake when pressing the shutter button.
My lens of choice was my Canon 24-70mm f2.8L II lens, so I can open the aperture wide to let as much light in as possible and the 24-70mm zoom should cover all compositions I wanted (I did also bring my 100-400mm lens, just incase I needed a little more reach).
My Canon 5D mkIV camera body is great in low-light conditions, so I didn’t have to worry about setting the ISO reasonably high.
Photo Set-up
Like all photography, light is key to photographing the stars. There’s a lot less of it when out in the middle of the night, so knowing how well your camera can handle low-light situations is crucial. For astrophotography noise can be a right pain, so setting the ISO just right it a difficult balance.
First off, I set my aperture wide open at f2.8 - this allows as much light in as possible while not introducing any noise.
Next comes shutter speed. This is very much dependent on how far you’re zoomed in, as you’ll pick up star movement if the shutter’s open too long, which is amplified the more you’re zoomed in. I found that I could get away with a 10 second shutter speed when I was at the widest end of my lens (24mm), but usually had to reduce it down to 8 seconds when I was at 70mm.
That leaves us with the ISO. I found somewhere in the region of 1600-2000 was perfect. It gave as little noise as possible while still allowing a nicely exposed image. I did end up playing around a bit, balancing the shutter speed and ISO depending on the composition I was going for.
Post Processing
I use Adobe Lightroom for all my post processing of photos, I like it as it’s fairly simple to use, but can be really powerful.
The first thing I looked at was removing any chromatic aberrations and lens distortion - luckily Lightroom as handy buttons to do this all for me! Removing the lens distortion really depends on how I envisioned the image looking, sometimes I want the slight fish-eye effect, others I don’t. For these photos of the comet I did remove this distortion, and some vignetting that had occurred.
I keep the white balance set to daylight on my camera, which seemed to be perfect for these images, so didn’t need to adjust the colour.
Next up I slightly adjusted the darks and highlights, to increase the contrast of the image - RAW files tend to look quite flat. Lightroom has some handy sliders to do this, so I decreased the blacks and increased the highlights until I got a nice level of contrast. This also helps pull detail out of the comet and any other objects in the sky.
For the tighter composed comet shots and for the Milky Way images, I also used the brush tool to subtly increase the highlights of the objects to bring out more detail and really make the photos pop.
Once all the lighting is done I zoom in and sort out any noise using the noise reduction slider in Adobe Lightroom. There can be quite a fine balance between removing the noise, and making the image look weirdly smooth like a painting, so I slowly adjusted the slider until I was happy.
